Central Texas water is hard. Depending on the supply and the season, it carries a substantial load of dissolved calcium and magnesium, and every drop that dries on a kitchen surface leaves that mineral behind. Nobody notices for the first few months. Then one morning the area around the faucet looks permanently dull, a cloth does nothing to it, and the assumption is that the stone has been damaged.
Usually it has not. What is sitting there is scale, a hard mineral crust bonded to the surface, and it is a deposit problem rather than a stone problem. The distinction matters because the two have opposite solutions. Damage to the surface has to be polished or repaired. A deposit has to be dissolved. Attacking a deposit with abrasives is the single most common way people turn a cosmetic nuisance into permanent etching.
What is actually on the surface
Hard water carries minerals in solution. When the water evaporates, the minerals stay. The first few cycles leave a film thin enough to wipe away. Left alone, each cycle adds to the last, and the deposit hardens into something closer to a thin layer of limestone bonded to whatever it dried on.
Two other things ride along with it. Soap reacts with the calcium in hard water to form soap scum, which is greasy rather than crusty and needs a different approach. And in some homes the deposit carries a faint orange tint from iron in the supply, which stains rather than simply sitting on top.
Where the deposit builds is predictable. Behind and around the faucet base, where drips land and are never wiped. Along the front edge of the sink rim. In the low spot of any surface that is not perfectly flat, because that is where water collects. And on the drainboard side, where dishes are set down wet.
Why the surface material changes the answer
Engineered quartz is roughly nine parts crushed stone bound in about one part polymer resin, and it is not porous. Nothing soaks in. That is genuinely useful here, because it means a hard water deposit is always sitting on top and can always be removed if you use the right thing on it. What quartz will not tolerate is a strong acid or a strong alkali, both of which attack the resin and leave a dull patch that no amount of further cleaning brings back.
Granite is porous to a degree and is normally sealed. Scale sits on the surface in the same way, but the sealer underneath is the thing at risk. Repeated acid cleaning strips it, and once it is gone the stone starts absorbing whatever is spilled on it.
Marble and limestone are calcium based, which puts them in a different category altogether. An acid does not just remove the deposit, it dissolves the surface itself, leaving a dull ring in exactly the shape of the thing that removed the scale. On these materials, acid is never the answer.
Porcelain and sintered surfaces are the most chemically indifferent of the common choices and handle descaling with the least fuss.
Knowing which of those four groups you are standing in front of settles almost every cleaning question that follows.
The removal that works, in the order to try it
Start with the mildest thing that could possibly work and escalate only if it fails. This is not caution for its own sake. Every step up carries a risk the step below does not.
Warm water and time. A cloth soaked in hot water and laid over the deposit for ten minutes softens a young film enough that it wipes off. Surprising numbers of people never try this and go straight to a scouring pad.
A dedicated stone safe cleaner. These are pH neutral and are formulated to lift mineral film without touching sealer or resin. On a surface that gets wiped weekly, this is all that is ever needed.
Dilute white vinegar, on granite or quartz only, and briefly. Vinegar is a mild acid and it dissolves calcium deposits properly. On sealed granite or on engineered quartz, a short contact of a minute or two followed by a thorough rinse will clear a stubborn ring. Do not leave it sitting, do not use it neat, and do not use it at all on marble, limestone or travertine. If you are unsure which you have, skip this step.
A plastic scraper, held flat. For a thick crust, softening with warm water and then working a plastic putty knife almost parallel to the surface removes the bulk without abrading anything. Never a metal blade, never a scouring pad, never a powdered abrasive cleanser.
The two products to keep away from the kitchen entirely are bathroom limescale removers, which are far more aggressive than anything a countertop needs, and bleach based sprays, which do nothing to mineral deposits and gradually dull the resin in engineered surfaces.
The details set at installation that decide how much of this you live with
Some of the hard water burden is decided long before the first glass of water is poured.
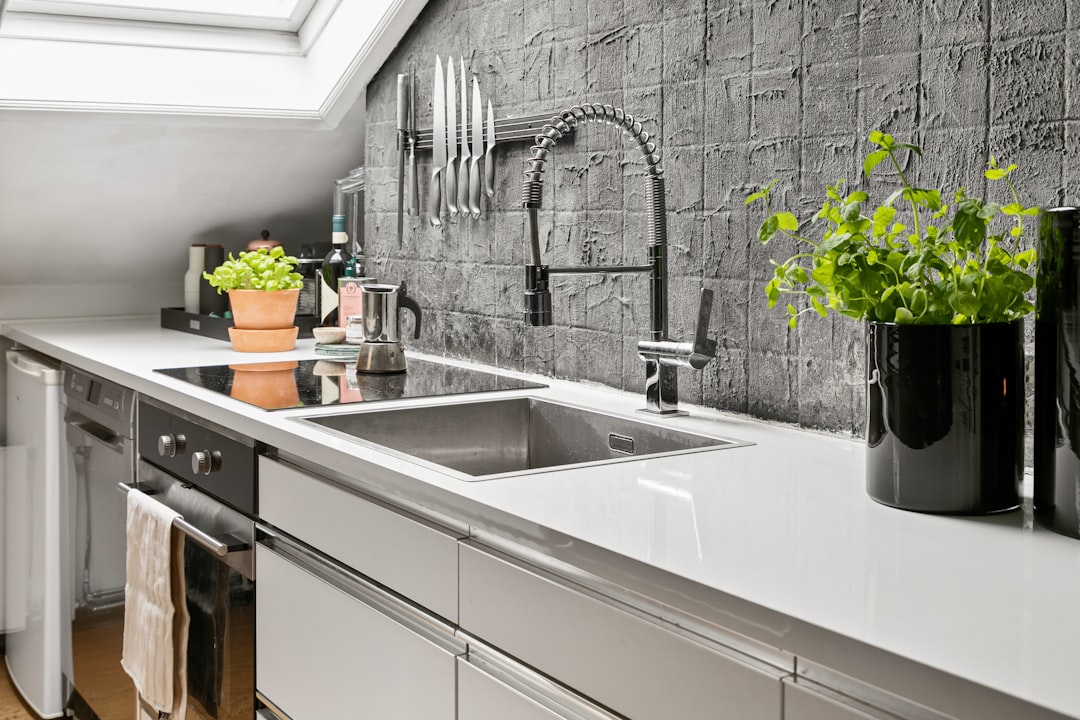
The faucet base is the biggest single factor. A deck mounted faucet sitting in a hole in the stone creates a rim where water pools and never dries. A single hole faucet with a tight escutcheon leaves far less standing water than a widespread set with two additional handle bases and a sprayer hole. Every hole is another rim, and every rim is another scale ring.
The reveal at the sink matters almost as much. A negative reveal, where the stone overhangs the sink slightly, lets water wipe straight into the bowl. A positive reveal, where a lip of sink rim is exposed, leaves a ledge that holds water against the stone edge. Both are legitimate choices for other reasons, but they behave differently here.
Sealing is the third. On granite, an impregnating sealer applied at installation and refreshed when a water drop stops beading makes deposits sit on top rather than working into the surface. It is a fifteen minute job once or twice a year.
Finally, how flat the run is decides where water goes. A surface with a slight dip holds a puddle, and a puddle that dries in place is a deposit every time. This is the kind of thing that is easy to correct during the install and effectively impossible afterwards.
Softeners and filters, and what each one actually does
A whole house softener exchanges the calcium and magnesium for sodium, which does not form scale. It is the only thing on this list that stops the deposit forming rather than making it easier to remove, and households on particularly hard supplies notice the difference on glassware, fixtures and appliances long before they notice it on the counter.
A point of use filter at the tap improves what you drink and does very little for what dries on the surface, because most kitchen water lands there from washing rather than from the drinking tap.
Neither is necessary to keep a surface looking right. A cloth and thirty seconds a day does the same job. The softener simply means the thirty seconds is optional rather than required.
The routine that prevents almost all of it
Wipe the area around the faucet dry at the end of the day. That single habit prevents more scale than every cleaner in the cupboard combined, because the deposit only forms where water is allowed to evaporate in place.
Once a week, clean the whole surface with warm water and a pH neutral cleaner, then dry it rather than leaving it to air dry. Air drying is what put the film there in the first place.
Twice a year, check the sealer if the material calls for one, and look specifically at the faucet base and the sink rim, which are always the first places to show a problem.
If a dull patch has already appeared and none of the above shifts it, stop before reaching for anything stronger. At that point the question is whether it is a deposit or etching, and those are answered differently. A deposit can be felt as a slight roughness under a fingertip. Etching is perfectly smooth and simply looks dull. The first is a cleaning job. The second needs a professional polish, and no amount of scrubbing will improve it.